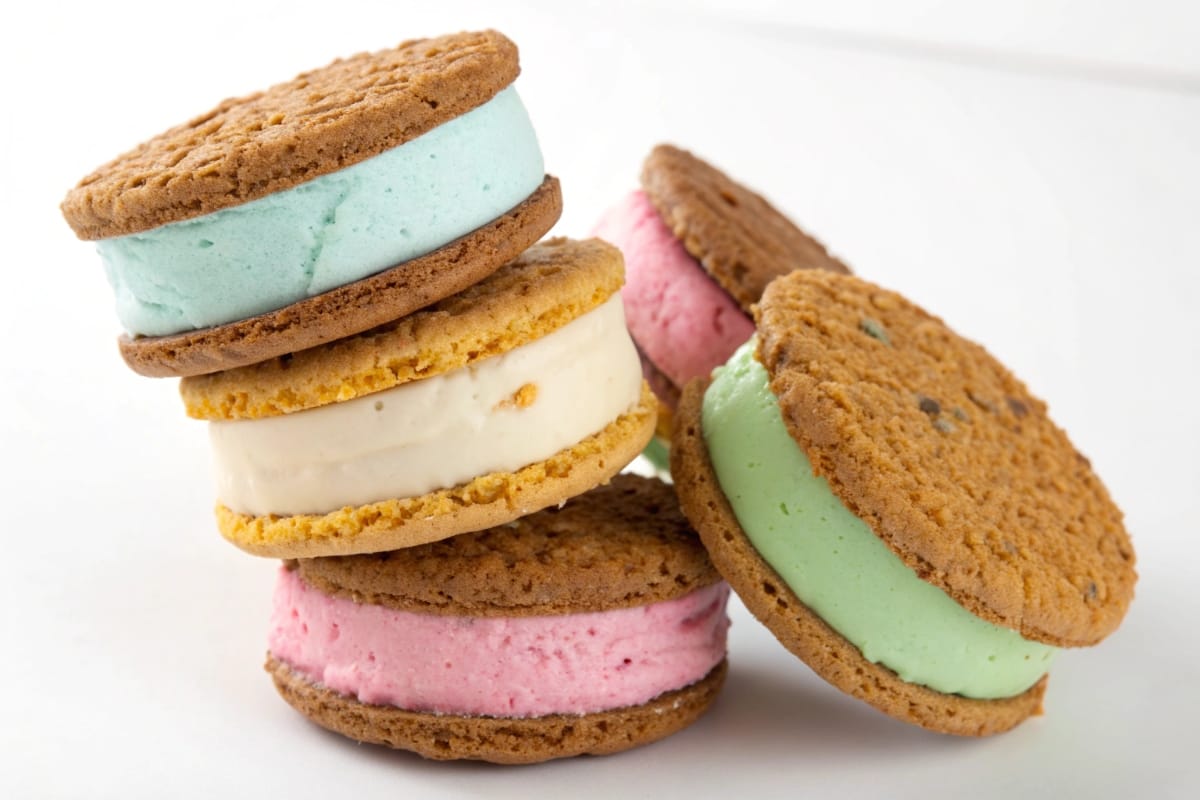
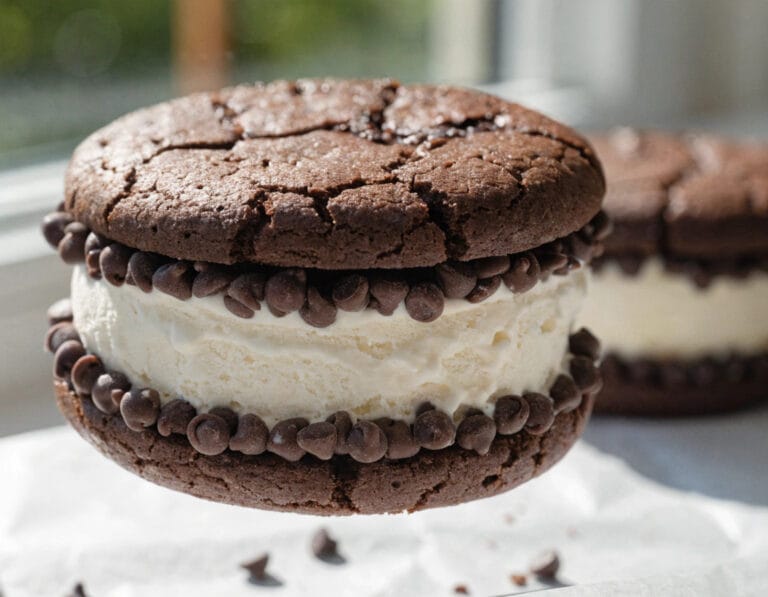
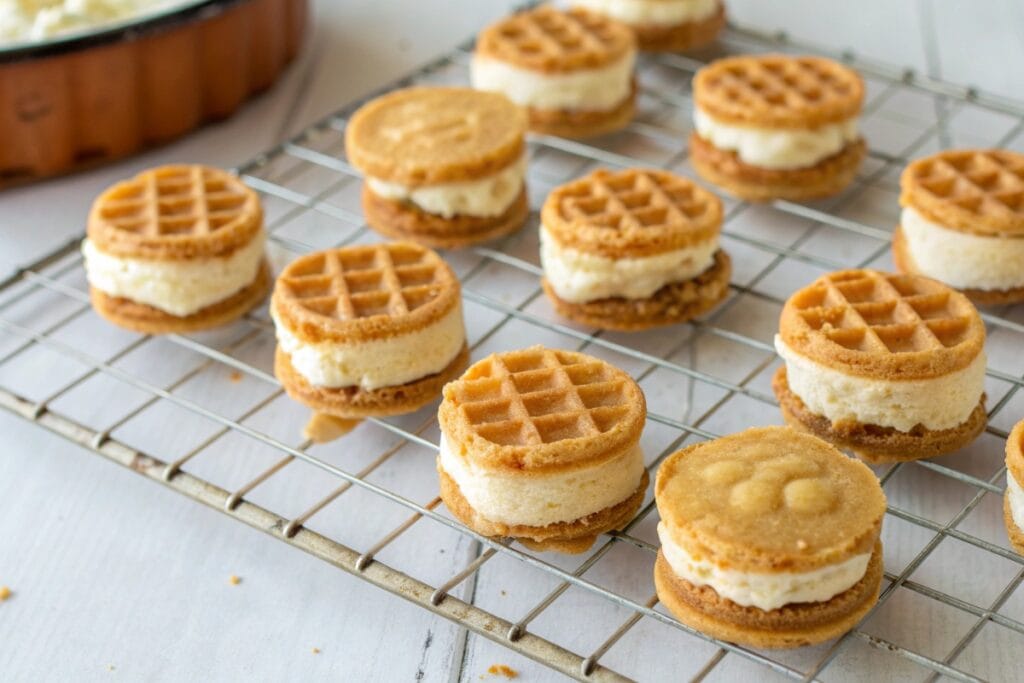
These homemade gluten free ice cream sandwiches combine soft chocolate cookies with a creamy vanilla filling. The cookies are thin enough to bite after freezing, while the ice cream stays neatly contained between the layers.
The recipe uses a gluten-free 1-to-1 flour blend, cocoa powder, plant-based butter, and dairy-free ice cream. It is also egg-free and dairy-free when prepared with the ingredients listed below. You can make the sandwiches ahead, wrap them individually, and keep them ready in the freezer for summer desserts, birthdays, or family gatherings.
Table of Contents
If you are building a gluten-free menu, our gluten-free recipes guide includes more practical ideas for everyday meals and treats.
Why You’ll Love This Recipe
The chocolate cookies stay softer than thick, crisp cookies after freezing.
The recipe uses store-bought ice cream, so you do not need an ice cream maker.
The sandwiches can be assembled and frozen ahead of time.
They are gluten-free, dairy-free, and egg-free when made as written.
You can change the ice cream flavor and edge coating without changing the basic method.
Each sandwich is wrapped separately, making the batch easy to store and serve.
Are Ice Cream Sandwiches Gluten Free?
Most traditional ice cream sandwiches are not gluten free because their cookies or wafers contain wheat flour. Ice cream itself may not contain gluten ingredients, but that does not make the complete sandwich gluten free.
For a homemade version, use a flour blend clearly labeled gluten free and check every packaged ingredient, including cocoa powder, vanilla, plant milk, plant-based butter, ice cream, chocolate chips, and sprinkles. Product formulas can change, so read the package each time rather than relying only on a familiar brand name.
These sandwiches can be appropriate for someone avoiding gluten only when all the ingredients are suitable and cross-contact is prevented during preparation.
Ingredients You’ll Need
Gluten-Free 1-to-1 Flour
Choose a gluten-free 1-to-1 or measure-for-measure flour blend that already contains xanthan gum. The binder helps the cookies hold together without wheat gluten.
Do not substitute coconut flour or almond flour in the same quantity. They absorb liquid differently and require a separately developed recipe.
Unsweetened Cocoa Powder
Cocoa gives the cookies their chocolate flavor and classic dark appearance. Natural unsweetened cocoa powder works well with the baking soda in this recipe.
Plant-Based Butter
Use a firm plant-based butter made for baking, not a low-fat spread. Let it soften at room temperature, but do not melt it. Melted butter can make the cookies spread too much.
Brown and Granulated Sugar
Brown sugar adds moisture and helps the frozen cookies remain tender. Granulated sugar balances the texture and sweetness.
Plant Milk and Vanilla
A small amount of unsweetened plant milk brings the egg-free dough together. Vanilla rounds out the cocoa flavor. If the dough still looks dry after mixing, add extra plant milk only one teaspoon at a time.
Dairy-Free Vanilla Ice Cream
Use one quart of dairy-free vanilla ice cream for 12 sandwiches. Choose a product that is clearly labeled gluten free if cross-contact is a concern. Regular vanilla ice cream can be used if you need the recipe to be gluten free but not dairy free.
These gluten free ice cream sandwiches combine soft chocolate cookies with a creamy vanilla filling. They are dairy-free and egg-free when made as written, easy to prepare ahead, and perfect for storing in the freezer.
Total Time:2 hours 40 minutes
Yield:12 sandwiches
Ingredients
Scale
Chocolate Cookies
180 g (about 1 1/2 cups) gluten-free 1-to-1 all-purpose flour blend with xanthan gum
1/2 cup mini chocolate chips, chopped nuts, toasted coconut, or gluten-free sprinkles, optional
Instructions
1. Preheat the oven to 350°F (177°C). Line two baking sheets with parchment paper.
2. Whisk the gluten-free flour, cocoa powder, baking soda, and salt in a medium bowl until evenly combined and free of visible cocoa lumps.
3. In a separate bowl, beat the softened plant-based butter, granulated sugar, and brown sugar until evenly combined and slightly fluffy. Mix in the plant milk and vanilla extract.
4. Add the dry ingredients to the butter mixture. Mix just until no dry flour remains. If the dough crumbles when pressed, add plant milk one teaspoon at a time. If it feels unusually soft, refrigerate it for 15 minutes.
5. Divide the dough into 24 equal portions, approximately 24 g or 1 1/2 level tablespoons each. Roll gently and place on the prepared baking sheets.
6. Press each portion into a round approximately 2 1/2 inches wide and 1/4 inch thick. Leave about 2 inches between the cookies.
7. Bake for 8 to 10 minutes, until the edges are set but the centers still look slightly soft.
8. Let the cookies cool on the baking sheets for 10 minutes. Transfer them carefully to a wire rack and cool completely.
9. Remove the ice cream from the freezer for 5 to 10 minutes. It should be spreadable but not melted.
10. Arrange the cooled cookies in 12 matching pairs. Turn one cookie from each pair upside down and place approximately 1/3 cup of softened ice cream in the center.
11. Top with the matching cookie and press gently until the filling reaches the edges. Smooth the sides with a small spatula or spoon.
12. Roll the exposed ice cream edges in mini chocolate chips, chopped nuts, toasted coconut, or gluten-free sprinkles, if desired.
13. Place the assembled sandwiches on a parchment-lined tray and freeze for at least 90 minutes.
14. Once firm, wrap each sandwich tightly and store in an airtight freezer container. Let stand at room temperature for 3 to 5 minutes before serving if needed.
Notes
Use a gluten-free 1-to-1 flour blend that already contains xanthan gum. Do not replace it with the same quantity of almond flour or coconut flour.
Use firm plant-based butter intended for baking rather than a low-fat spread.
Check the labels of the flour, cocoa powder, vanilla, plant milk, ice cream, and optional coatings when preventing gluten cross-contact is necessary.
For the best texture, do not overbake the cookies. They should still be slightly soft in the center when removed from the oven.
Store the individually wrapped sandwiches in an airtight container in the freezer for up to two weeks.
Author:Adam Moretti
Prep Time:30 minutes
Cooling and Freezing:2 hours
Cook Time:10 minutes
Category:Dessert
Method:Baking
Cuisine:American
Diet:Gluten Free
How to Make Gluten Free Ice Cream Sandwiches
1. Prepare the Baking Sheets
Preheat the oven to 350°F. Line two baking sheets with parchment paper so the tender cookies release cleanly after baking.
2. Mix the Dry Ingredients
Whisk the gluten-free flour, cocoa powder, baking soda, and salt in a medium bowl. Break up any visible lumps of cocoa before adding the mixture to the wet ingredients.
3. Cream the Butter and Sugars
In a separate bowl, beat the softened plant-based butter, brown sugar, and granulated sugar until evenly combined and slightly fluffy. Mix in the plant milk and vanilla.
4. Make the Dough
Add the dry ingredients to the butter mixture and mix just until no dry flour remains. The dough should be soft and easy to press without sticking heavily to your hands.
If it crumbles when pressed, mix in one teaspoon of plant milk and test it again. If it feels unusually soft, refrigerate it for 15 minutes before portioning.
5. Shape the Cookies
Divide the dough into 24 equal portions, using approximately 1½ tablespoons for each cookie. Roll each portion gently, place it on the prepared baking sheet, and press it into a round approximately 2½ inches wide and ¼ inch thick.
Leave about 2 inches between the cookies. Try to keep them similar in size because each finished sandwich requires a matching pair.
6. Bake Until Just Set
Bake for 8 to 10 minutes, or until the edges are set and the centers still look slightly soft. Avoid baking until the cookies feel firm in the oven. They continue setting as they cool, and overbaked cookies become harder in the freezer.
Let the cookies cool on the baking sheets for 10 minutes, then transfer them carefully to a wire rack. Cool them completely before adding the ice cream.
7. Soften the Ice Cream Briefly
Remove the ice cream from the freezer for 5 to 10 minutes. It should be spreadable but not melted. If it becomes runny around the edges, return it to the freezer briefly before assembling the sandwiches.
8. Assemble the Sandwiches
Arrange the cooled cookies in 12 matching pairs. Turn one cookie from each pair upside down, then place about ⅓ cup of softened ice cream in the center.
Add the second cookie and press gently until the ice cream reaches the edges. Smooth the sides with a small spatula or the back of a spoon.
9. Add an Optional Coating
Roll the exposed ice cream edges in mini chocolate chips, chopped nuts, toasted coconut, or gluten-free sprinkles. Confirm that any coating is also labeled gluten free when needed.
10. Freeze Until Firm
Place the assembled sandwiches on a parchment-lined tray and freeze for at least 90 minutes. Once firm, wrap each one tightly and transfer the sandwiches to an airtight freezer container.
How to Keep the Cookies Soft in the Freezer
The cookie texture determines whether an ice cream sandwich is pleasant to bite straight from the freezer. These steps make the biggest difference.
Keep the Cookies Thin
Thick cookies take longer to soften and can squeeze the ice cream out when bitten. Pressing the dough to approximately ¼ inch before baking creates a better cookie-to-filling balance.
Do Not Overbake
Remove the cookies when the edges are set but the centers remain soft. A cookie that is crisp at room temperature will become even firmer when frozen.
Use Brown Sugar
Brown sugar retains more moisture than granulated sugar alone, helping the cookies remain tender after they cool and freeze.
Cool the Cookies Completely
Warm cookies melt the filling and create uneven sandwiches. Let every cookie reach room temperature before assembly.
Soften, but Do Not Melt, the Ice Cream
Very hard ice cream can crack the cookies during assembly. Melted ice cream can leak from the sides and refreeze with an icy texture. A short rest at room temperature makes it easier to spread while keeping its structure.
Troubleshooting
The Dough Is Crumbly
Different gluten-free flour blends absorb moisture at different rates. Add plant milk one teaspoon at a time until the dough holds together when pressed. Do not pour in several tablespoons at once.
The Cookies Spread Too Much
The plant-based butter may have been too warm, or the product may contain more water than a baking-style stick. Chill the remaining dough for 15 to 20 minutes before baking the next tray.
The Cookies Are Hard After Freezing
They were probably baked too long or shaped too thickly. On the next batch, flatten the dough more evenly and remove the cookies as soon as the edges are set.
The Ice Cream Squeezes Out
Allow the sandwich to stand at room temperature for 3 to 5 minutes before serving. The filling should soften slightly without becoming runny.
The Sandwiches Look Uneven
Pair cookies of similar size before filling them. Use the same measuring scoop for every portion and place the ice cream in the center before pressing.
Flavor Variations
Mint Chocolate
Fill the chocolate cookies with gluten-free mint ice cream and coat the edges with mini chocolate chips.
Strawberry and Chocolate
Use strawberry ice cream for a fruit-and-chocolate combination. Freeze-dried strawberry pieces can be crushed and added around the edges.
Peanut Butter Chocolate
Choose peanut butter ice cream and coat the sides with chopped peanuts. Check the ingredient labels carefully if the sandwiches will be served to someone with a peanut allergy.
Cookies and Cream
Use a gluten-free cookies-and-cream ice cream. Regular cookies-and-cream products often contain wheat-based cookies, so the flavor name alone is not enough.
Simple Vanilla
Keep the vanilla filling plain and skip the coating for the easiest version. For more frozen dessert ideas, see our collection of gluten- and dairy-free desserts.
Gluten-Free Safety and Cross-Contact
In the United States, a packaged food carrying a gluten-free claim must meet the FDA definition, including containing less than 20 parts per million of unavoidable gluten. The FDA’s gluten-free food-labeling guidance explains the standard and how the claim is regulated.
For someone with celiac disease, begin with clean bowls, beaters, measuring tools, baking sheets, cooling racks, spatulas, and work surfaces. Do not use parchment, open containers, or serving utensils that have been in contact with wheat flour or regular cookies.
Check the label on the flour blend and ice cream in particular. Some ice cream flavors contain cookie pieces, brownie pieces, malt, or other ingredients that may introduce gluten. Shared scoops and open topping containers can also create cross-contact.
Make-Ahead and Storage
Making the Cookies Ahead
Bake the cookies, cool them completely, and store them in an airtight container at room temperature for up to two days before assembly. You can also freeze the unfilled cookies for up to one month.
Storing the Assembled Sandwiches
Freeze the assembled sandwiches uncovered until firm, then wrap each one tightly. Place the wrapped sandwiches in an airtight container to protect them from freezer odors and drying.
For the best texture, serve them within two weeks. Let each sandwich stand at room temperature for 3 to 5 minutes before eating if it is too firm straight from the freezer.
Serving a Crowd
Keep the sandwiches frozen until shortly before serving. Put out a small batch at a time and return any still-firm extras to the freezer promptly. Do not refreeze sandwiches that have melted significantly.
Frequently Asked Questions
Can I use store-bought gluten-free cookies?
Yes. Choose cookies that are relatively soft and similar in size. Crisp or very thick cookies can be difficult to bite after freezing. Check that the cookies are labeled gluten free and review any allergen information that matters to your household.
Can I use regular dairy ice cream?
Yes. Regular ice cream works if you only need the sandwiches to be gluten free. The finished dessert will no longer be dairy free, so label it clearly when serving guests.
Can I make these without xanthan gum?
This recipe is designed for a gluten-free flour blend that already contains xanthan gum or a similar binder. A blend without a binder may produce cookies that crack or crumble. Do not add extra xanthan gum if it is already listed in the flour blend.
How long should ice cream sandwiches freeze before serving?
Freeze them for at least 90 minutes after assembly. A longer freeze makes them easier to wrap and store. If they become very firm, let them sit at room temperature for a few minutes before serving.
Why are my homemade ice cream sandwiches too hard?
The cookies may be overbaked, too thick, or made with too much flour. Measure the flour carefully, flatten the dough before baking, and remove the cookies while their centers are still soft.
Are these sandwiches vegan?
They are vegan when made with plant-based butter, plant milk, dairy-free ice cream, and vegan coatings. Always check the current package labels because ingredients vary between products.
Final Tips
The best gluten free ice cream sandwiches begin with cookies that are thin, soft, and only lightly baked. Cool them completely, soften the ice cream briefly, and work with one or two sandwiches at a time so the filling does not melt.
Once assembled, freeze the sandwiches on a flat tray before wrapping them individually. This simple sequence keeps the layers neat and gives the cookies time to soften slightly against the filling.
With a dependable gluten-free flour blend and carefully checked ingredients, you can keep a batch of chocolate-and-vanilla ice cream sandwiches ready for an easy homemade frozen dessert.
Reviewed recipe options
Make this recipe fit me
Choose one of seven popular diet options. NutriMatch will confirm whether the recipe already fits, show a reviewed adaptation when available, or recommend recipes that match your choice.
Please choose a diet first.
Already a reviewed match
This recipe already fits Dairy-Free.
No changes are needed based on its reviewed NutriMatch classification. Check the complete ingredients, product labels, and serving details for your own needs.
Recipe details, product formulas, and cross-contact information can change. Confirm current labels and use professional guidance when medically necessary.
Already a reviewed match
This recipe already fits Gluten-Free.
No changes are needed based on its reviewed NutriMatch classification. Check the complete ingredients, product labels, and serving details for your own needs.
Recipe details, product formulas, and cross-contact information can change. Confirm current labels and use professional guidance when medically necessary.
Not available for this recipe
This recipe cannot currently be made High Protein with a reviewed adaptation.
NutriMatch will not guess at substitutions. Try one of these recipes that is already reviewed for your choice.
Recipe details, product formulas, and cross-contact information can change. Confirm current labels and use professional guidance when medically necessary.
Not available for this recipe
This recipe cannot currently be made Keto with a reviewed adaptation.
NutriMatch will not guess at substitutions. Try one of these recipes that is already reviewed for your choice.
Recipe details, product formulas, and cross-contact information can change. Confirm current labels and use professional guidance when medically necessary.
Not available for this recipe
This recipe cannot currently be made Low Carb with a reviewed adaptation.
NutriMatch will not guess at substitutions. Try one of these recipes that is already reviewed for your choice.
Recipe details, product formulas, and cross-contact information can change. Confirm current labels and use professional guidance when medically necessary.
Already a reviewed match
This recipe already fits Vegan.
No changes are needed based on its reviewed NutriMatch classification. Check the complete ingredients, product labels, and serving details for your own needs.
Recipe details, product formulas, and cross-contact information can change. Confirm current labels and use professional guidance when medically necessary.
Already a reviewed match
This recipe already fits Vegetarian.
No changes are needed based on its reviewed NutriMatch classification. Check the complete ingredients, product labels, and serving details for your own needs.
Recipe details, product formulas, and cross-contact information can change. Confirm current labels and use professional guidance when medically necessary.